
There are many versions of this recipe available, like anything these days, and I have done my share of searching around for the best one. But I am here to say that the recipe below turned out the best I have ever had or made. *The sole exception being Mrs. Vicki Lee, but I've chosen to exclude her in the comparison because I strongly believe it is not the recipe itself that makes the difference but the love that goes into it! Gosh I love me some Southern bakin'...
Back to the cake. I originally found this recipe over at Divas Can Cook blog. When Monique claimed it was the BEST red velvet recipe ever I had to take a closer look. And when I caught sight of the last ingredient I knew, even before it was out of the oven, that it would be my go-to forever more. I was absolutely right.
Ingredients:
- 2 cups All Purpose Flour
- 1 tsp Baking Soda
- 1 tsp Baking Powder
- 1 tsp Salt
- 2 tbsp Cocoa Powder
- 2 cups Sugar
- 1 cup Vegetable Oil
- 2 Eggs
- 1 cup Buttermilk
- 2 tsp Vanilla Extract
- Red Food Colouring {1-2 oz + Depending on how bright you want it}
- 1 tsp White Vinegar
- 1/2 cup Prepared Plain Hot Coffee {Key to Success - Don't skip this Ingredient}
Now let's get baking:
- Preheat oven to 325°
- In medium sized bowl whisk together flour, baking soda, baking powder, cocoa powder and salt. Set aside.
- In large bowl combine sugar and vegetable oil.
- Mix in eggs, buttermilk, vanilla and food colouring.
- Stir in the coffee and vinegar.
- Gradually add the dry ingredients in with the wet ingredients.
- Grease and lightly flour two round cake pans.
- Pour batter evenly between each.
- Bake for 30-40 minutes on centre rack. *Do not over bake. It will continue to cook as it cools.
- Let stand for several minutes before removing from pans. *Loosen the cake from the pan with a knife before trying to remove. Allow to cool completely.
- Once cool, trim the cakes straight across the top for level stacking.
- Ice the top of the first layer.
- Once smooth add the second layer and ice top and edges.
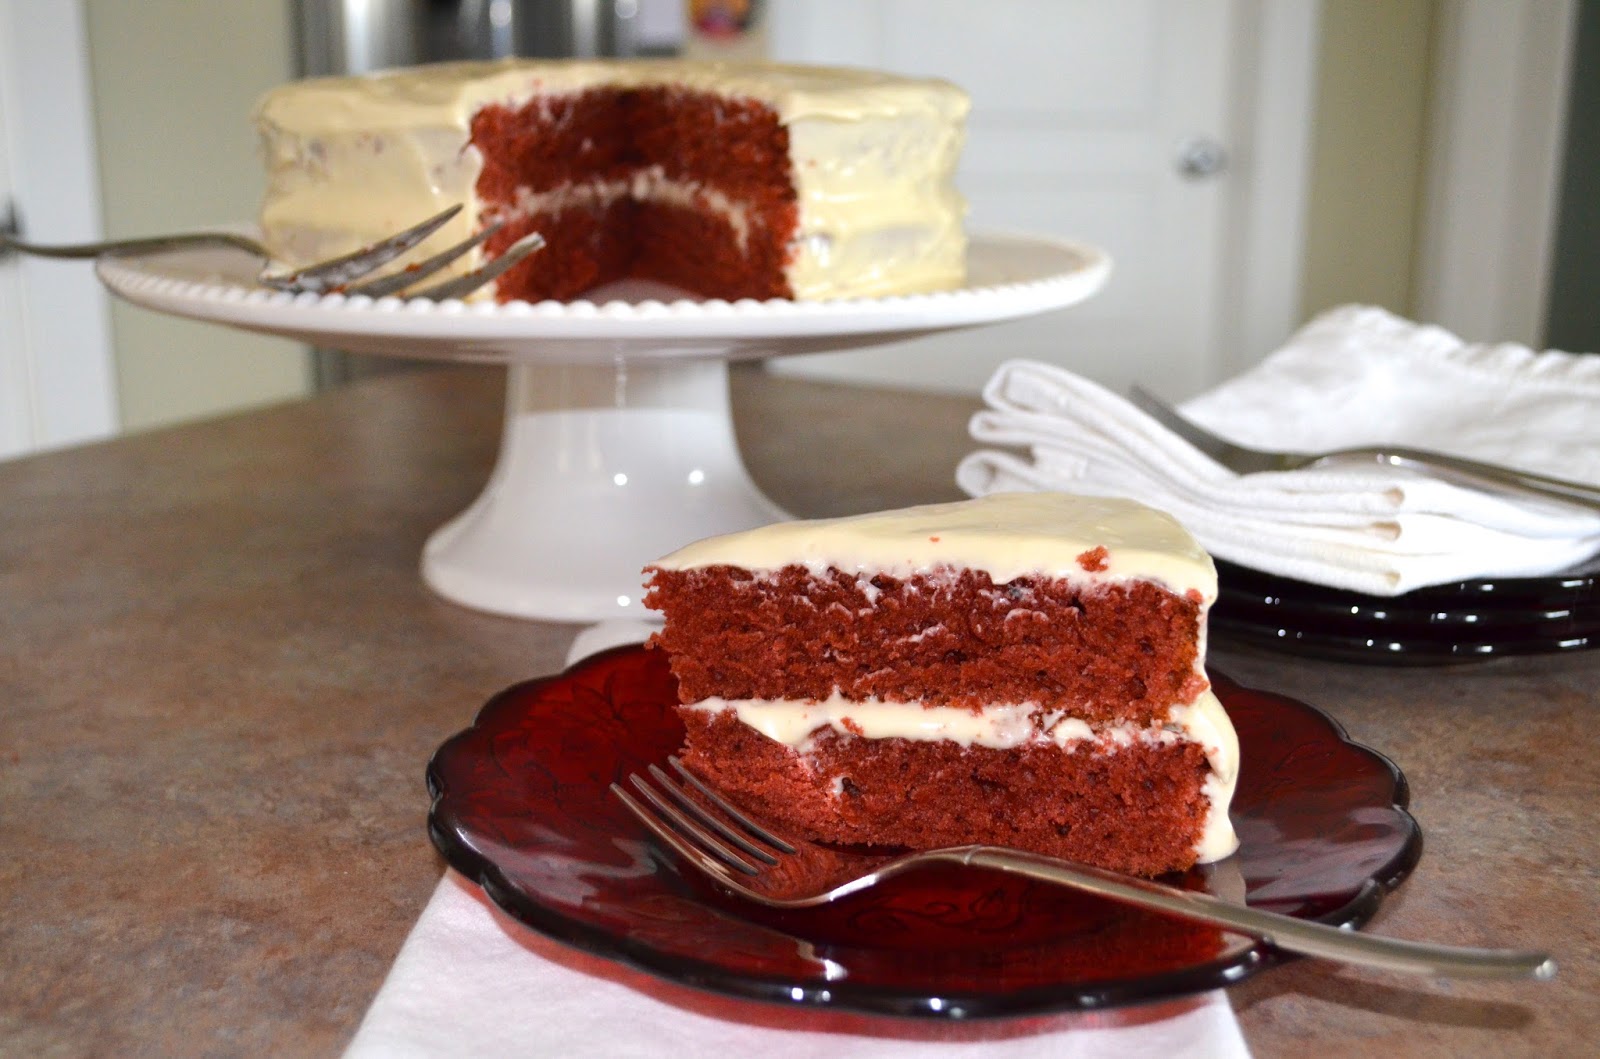
*I used Cream Cheese Frosting. The same as for my Carrot Cake.
And there you have it - delectable in cake form! Just in time for the red and white festivities {blue could certainly be incorporated}!
What other goodies are gracing your tables this weekend? Dish! Or if you are stumped, scoot over to Divas Can Cook for more great recipes.
Chat soon.


No comments:
Post a Comment